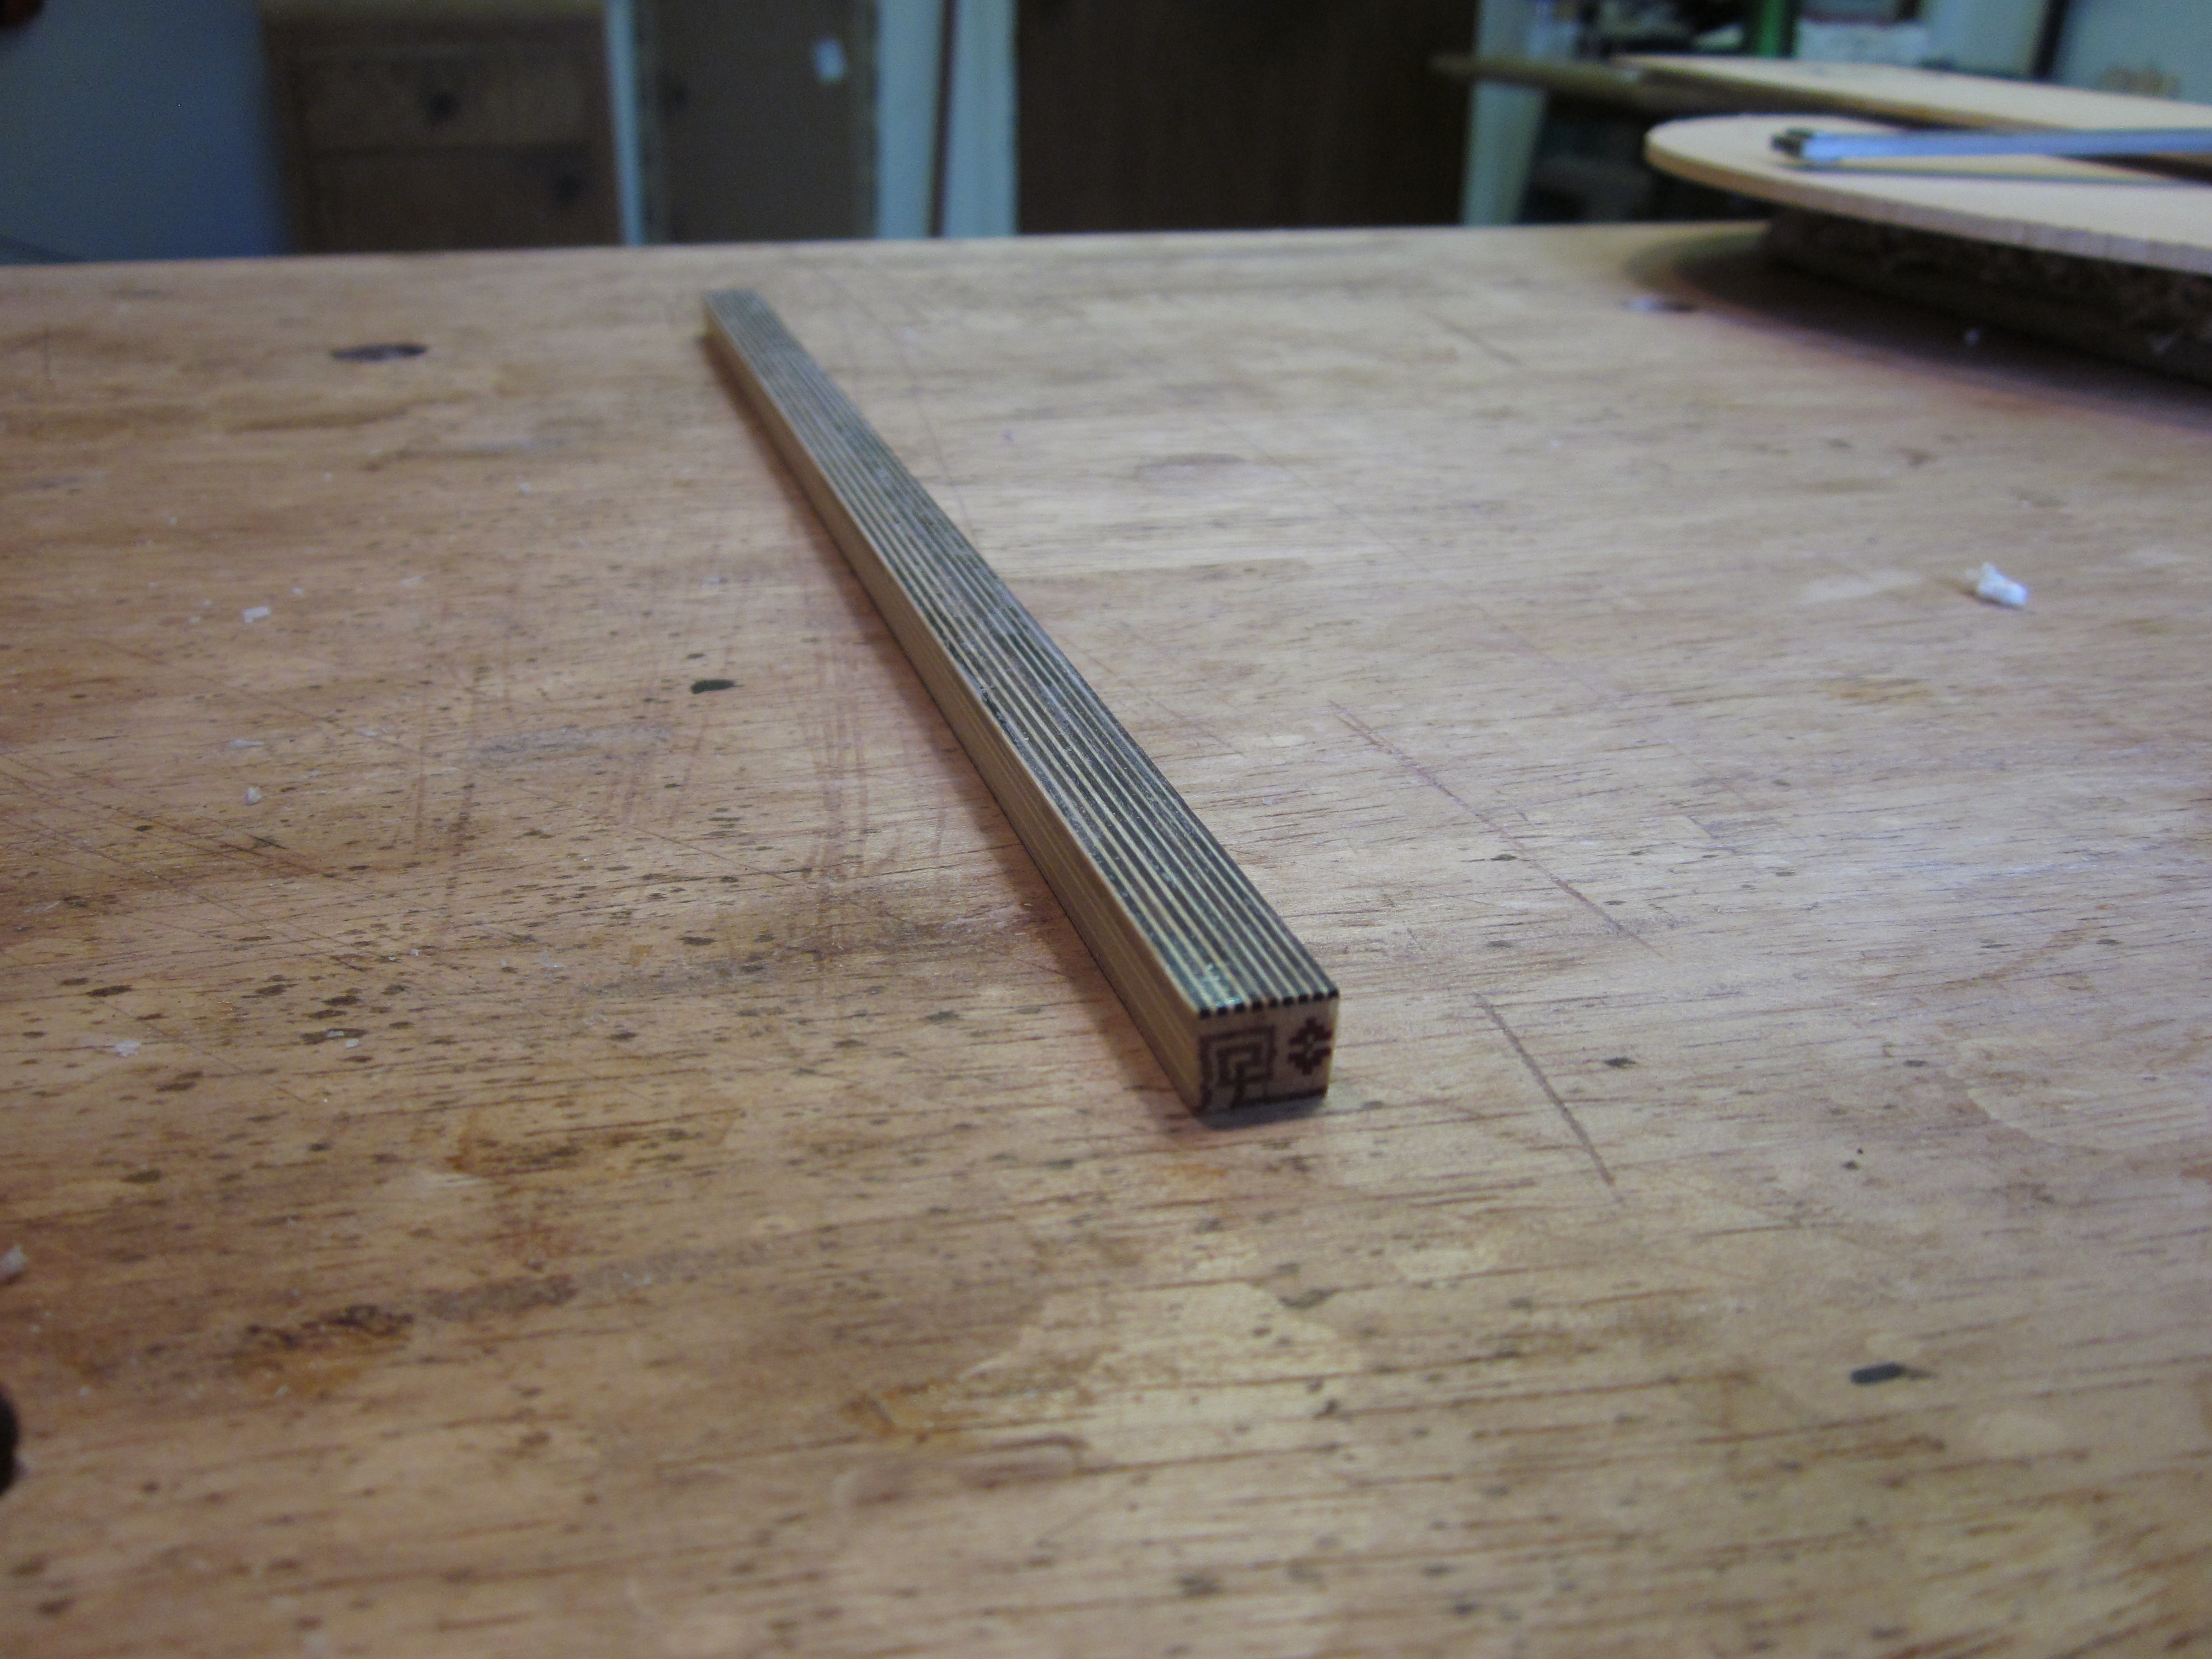
OK, the nerve-racking part is over, and all those strips have been glued up in the correct order. At this point I taper the entire log by planing, scraping and sanding (but taking very fine shavings so I don’t go to far). Here it is ready to be sliced:
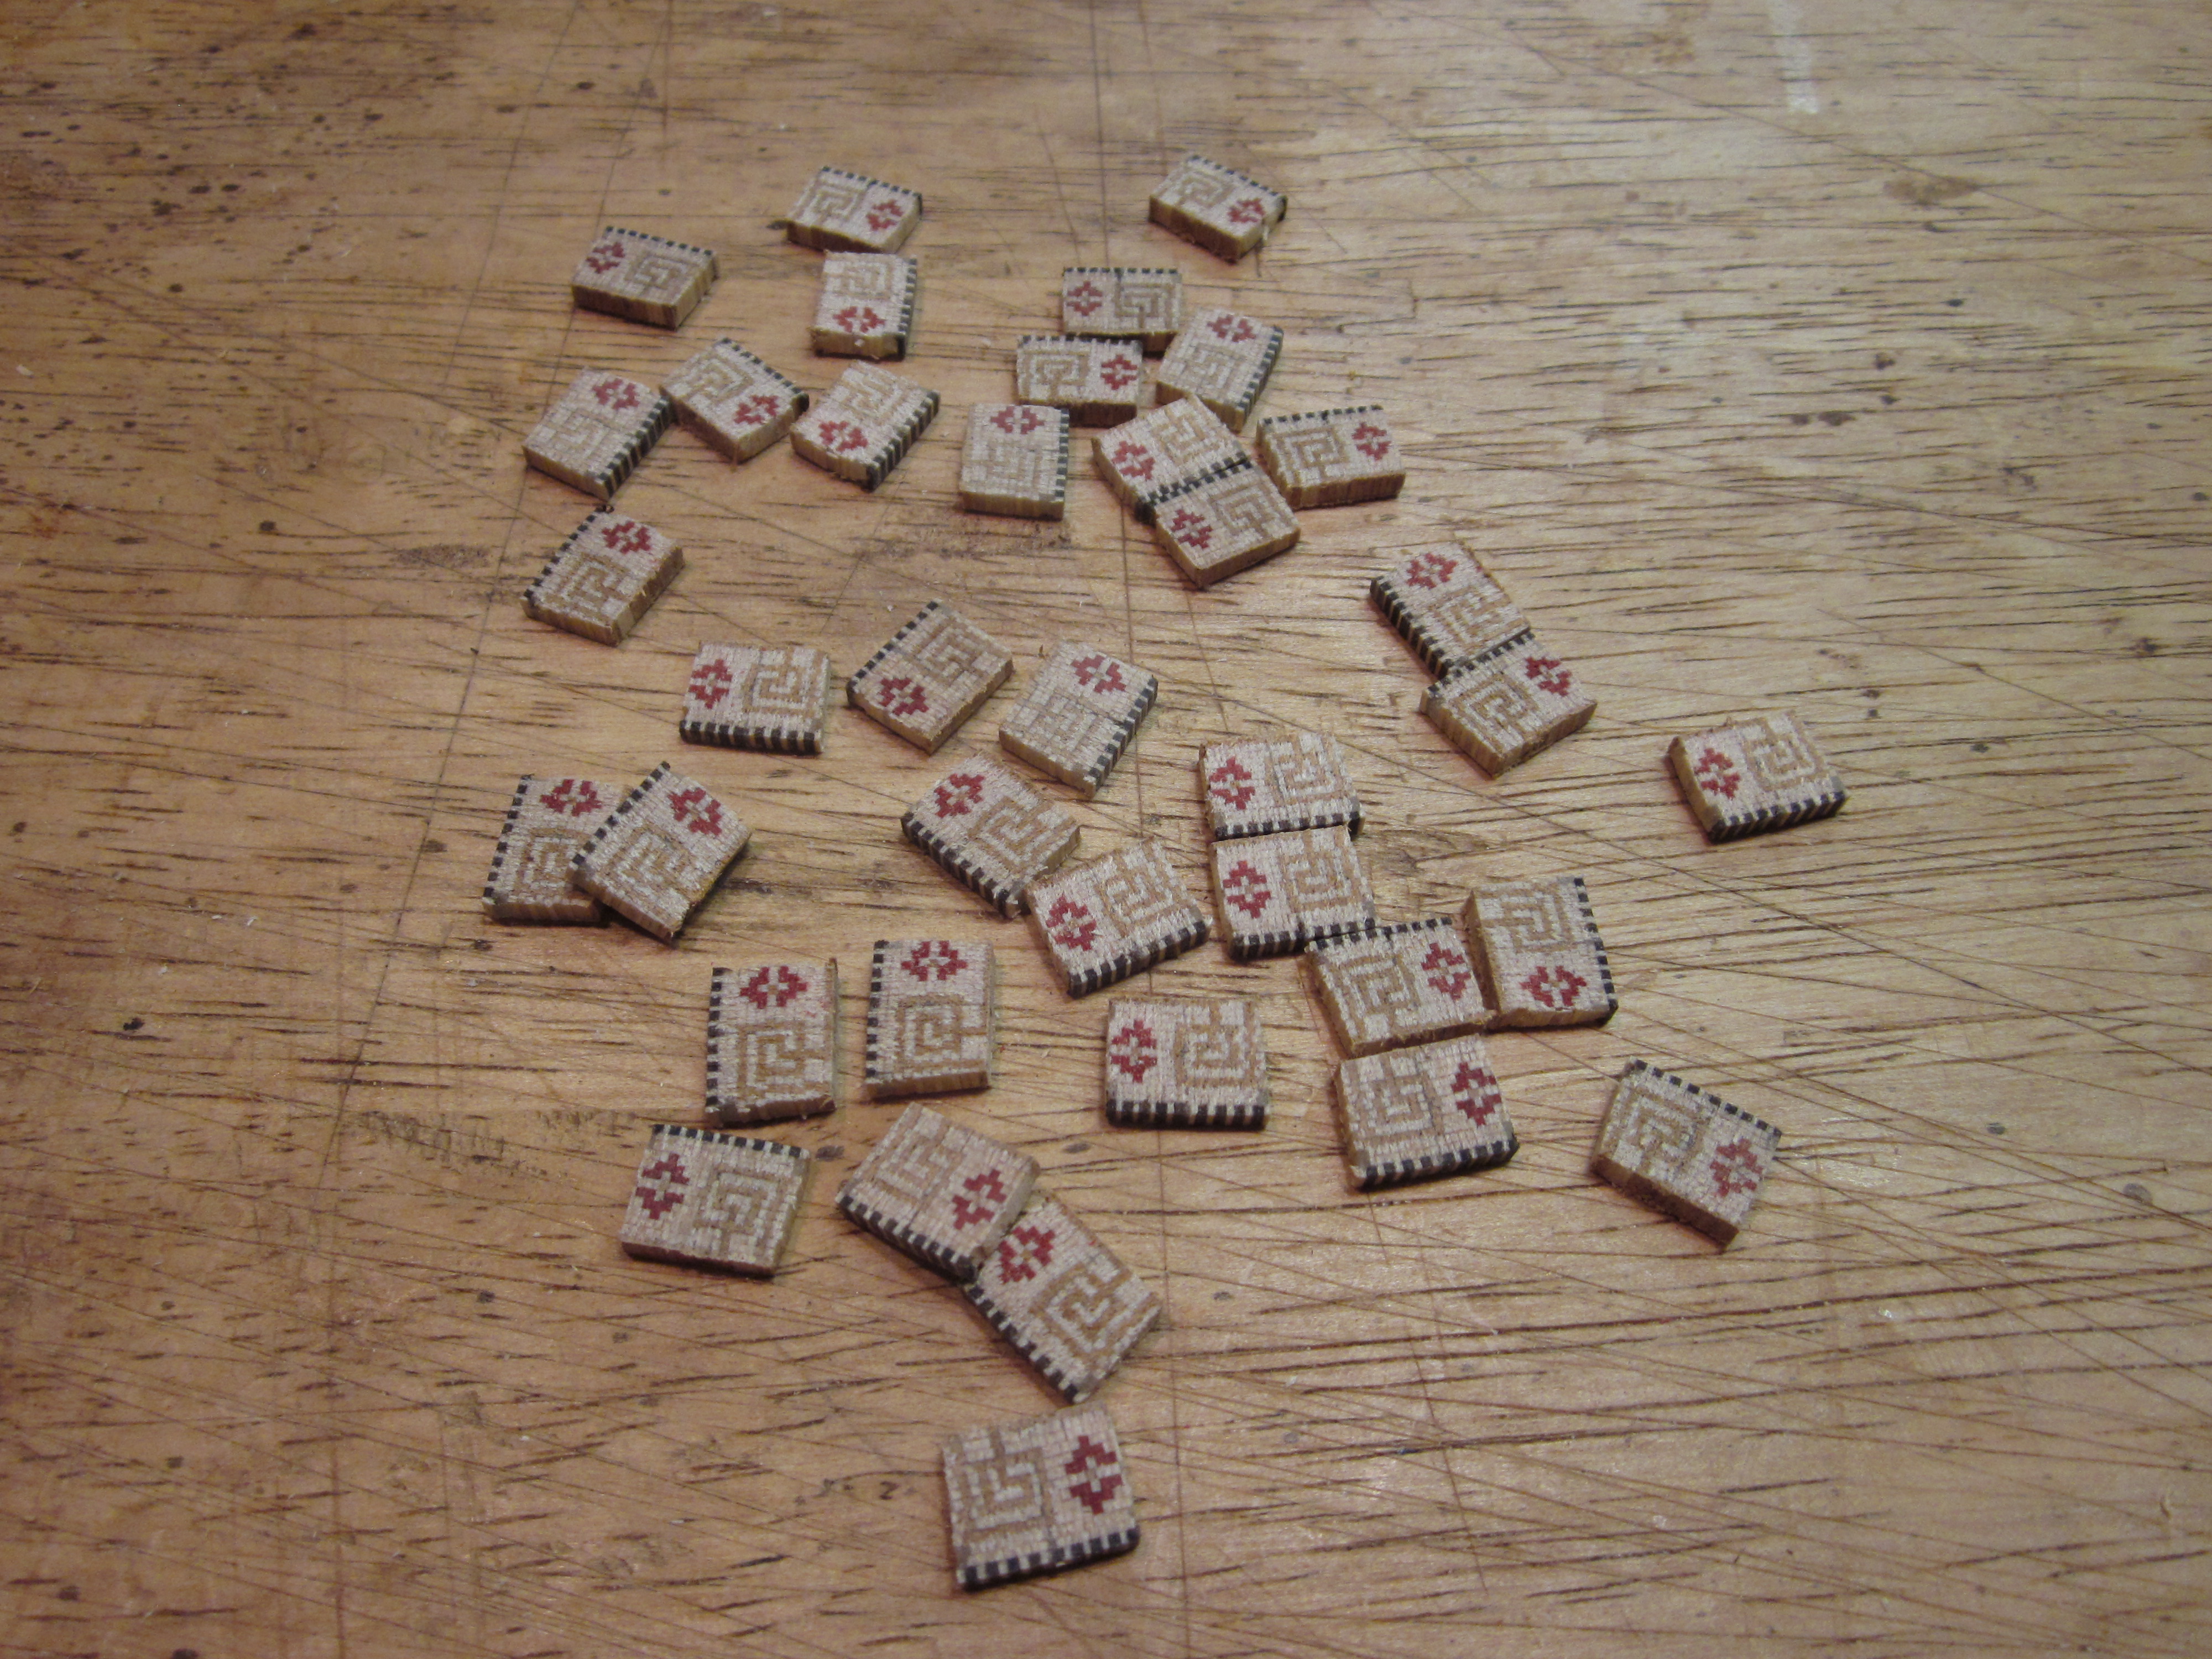
I make ~2mm thick slices on the bandsaw, again making a cut into a piece of scrap wood to serve as a kind of throat plate. The tiles only need a quick swipe of a sanding stick to sand the fuzz off after being cut.

Here are enough tiles for one rosette:
Next is to pick out a sequence of veneers to make the outer borders of the rosette. I have a wide palette of veneer strips already cut for composing rosette rings, and I glued up a couple more combinations for this one. I glue the veneers together in twos because 1) I can then cut them into strips on the bandsaw without them falling apart, and 2) it makes it much easier to assemble the rosette in the top when I have half as many strips to deal with. In this picture you can also tell how much the tiles are tapered:

Next I’ll be inlaying the rosette!

Wow, that’s unique! I will choose this one if I ever order a guitar from you.