Strings!

Here’s a little video of the 7 string strung up without finish.  I capoed the low string at the nut position; lame, I know.  I had a hard enough time just wrapping my mind around playing seven strings, let along trying to navigate two extra frets.  I will leave that to the professionals, like the very talented musician who ordered this guitar!

I love the sound of the low string.  It made me think that the droning, arabic-sounding (to my ears) effect would be great on a flamenco guitar.  Maybe one of those will be in my future.

I came up with a little arrangement of one of my favorite folk tunes, a song that partly inspired me to pick up the guitar when I was about 16.

And while we’re at it with the videos, here’s one of my latest flamenco:

Ready for the fingerboard

The bindings are finished and scraped down which means the fingerboard can now be glued on.  I inserted a 1/8″ by 3/8″ carbon fiber rod in the neck, just under the fingerboard.  I placed it a bit off-center to help prevent potential twisting of the neck due to greater string tension on the bass side of the headstock.  The support for the fingerboard extension is glued on and leveled, and will be trimmed down when I carve the neck, after the fingerboard is glued.

I left room to cut a slot for a 20th fret as I thought that would be in character for this guitar, and will allow it to achieve a full extra octave when the 7th string is tuned down to F.

DSC_0017 1

DSC_0026 1

DSC_0027 1

Taking shape!

Here are a few pictures of the neck, and then the mostly-assembled guitar ready for the back to be glued on.  You can tell a lot about a guitar by the neck; in this case you can tell that the guitar will be a 7-string!  You can also see evidence of an interesting feature: that little ramp on the bass side of the headstock is to allow the fretboard to be extended past the nut on the 7th string.  There will be another piece glued onto the headstock to support the extra two frets’ length.  A sliding banjo capo will be used to stop the string at whatever position the player chooses.  Exciting stuff.DSC_0570_1

DSC_0568_1

DSC_0576_1

DSC_0586

DSC_0602

DSC_0599_1

Top and back braced

Here are the top and back of the classical guitar.  As you can see, it has a cutaway.  Many makers of classical guitars opt for a raised fingerboard to facilitate access to the higher frets, but in my opinion, a cutaway can be executed without harming the sound of the guitar.  The main impact that the cutaway has is diminishing the volume of air inside the guitar, which raises the Helmholtz resonance and, in theory, could take some depth out of the basses.  I’m compensating for that by simply deepening and widening the guitar a bit.  My classical guitars are a tad thinner than average to start with so there was room to go a bit deeper.  Also, I’m not concerned about this guitar producing enough bass, for reasons which will be revealed later!

You can click on the images to make them larger.

DSC_0538_1

DSC_0558

DSC_0559

Starting a unique classical guitar

This promises to be an exciting project.  I will reveal all the unique features of this guitar as I go so please stay tuned!  For now let’s start with the rosette.  This actually turned out even prettier than I imagined in my mind.  The wild beauty of natural Bubinga wood, constrained by sharp, precise lines and carefully crafted ornamentation.

DSC_0521 DSC_0522

Padauk Classical finished

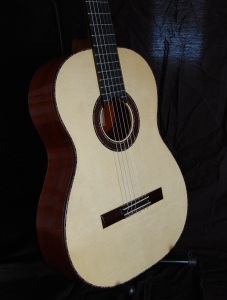
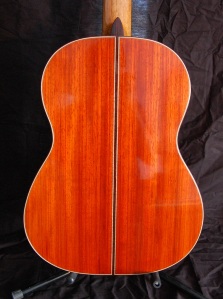
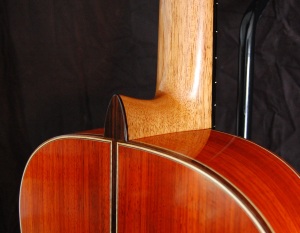
Finally she is done… polished and singing beautifully!

I’m very happy with how this guitar turned out.  The tone is pleasantly balanced with nice sustain and sweet overtones.  Quite an enticing voice.

Below is a video (slideshow) with a recording of me playing Mudarra’s Fantasia X on the guitar.  Not a bad recording with the Tascam DR40 although it tends to record a little trebly.  Watch the video on YouTube in 480p + for best sound.

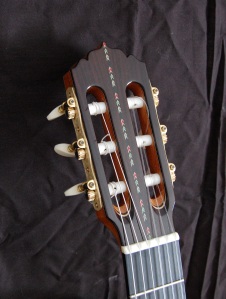
The guitar is for sale at $2900 including case and shipping, please email me if you’re interested at culpepperguitars@gmail.com.

DSC_0220 1 DSC_0230 2 DSC_0246 2 DSC_0253 2 DSC_0262 2

Bindings & Purflings

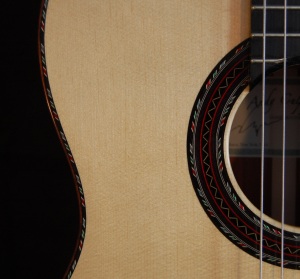
The Padauk classical continues to simmer along.  I enjoy working on it when I get the chance because it’s kind of a special project.  I recently installed the bindings and purflings, and got a few pictures after scraping them down.  The broader white purflings on the sides and back are flamed maple, which I think will provide a cool effect under finish.  The bindings are Indian Rosewood.

I also finished making the bridge, which is inlaid to match the rosette.

It’s getting closer to making music, stay tuned!

php0ytviaPM

phpQkpziuPM phpVH59N3PM

php5VgPbePM

phpfrzpKpPM

Starting an Andaman Padauk classical

I’ve gotten around to starting a guitar with the Andaman Padauk now.  It’s a classical guitar that I’m building on speculation and it will be for sale when it’s finished.

Given my past experience with Padauk, and the quality of this stuff, I think this is going to be a special guitar.  I have a definite sound in mind that I’m going for: penetrating and weighty with great volume and presence, well balanced with sweet intervals and melody lines.  Separation and harmony.

I will spend as much time refining the voice as I need to.  Stay tuned!DSC_0384

DSC_0541

DSC_0410 DSC_0401

Andaman Padauk part II

Today was resawing day.  I took the half hour drive down to Dick Cogger’s shop outside of Ithaca, and in between trying out one of his classical guitars, and loading up on fresh Cucumbers and Zucchini from the garden, we managed to get all the Padauk sawn up.

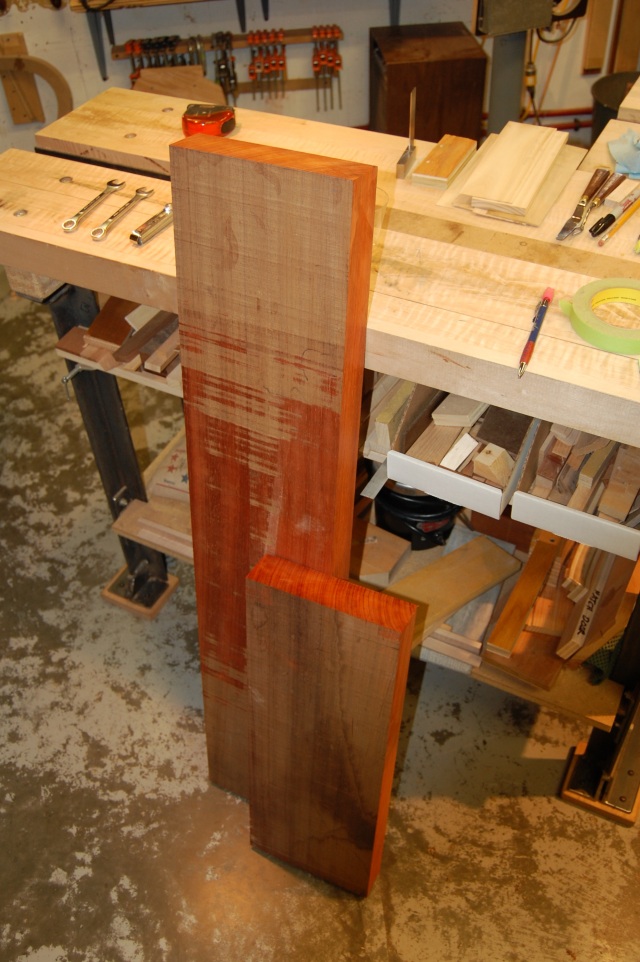
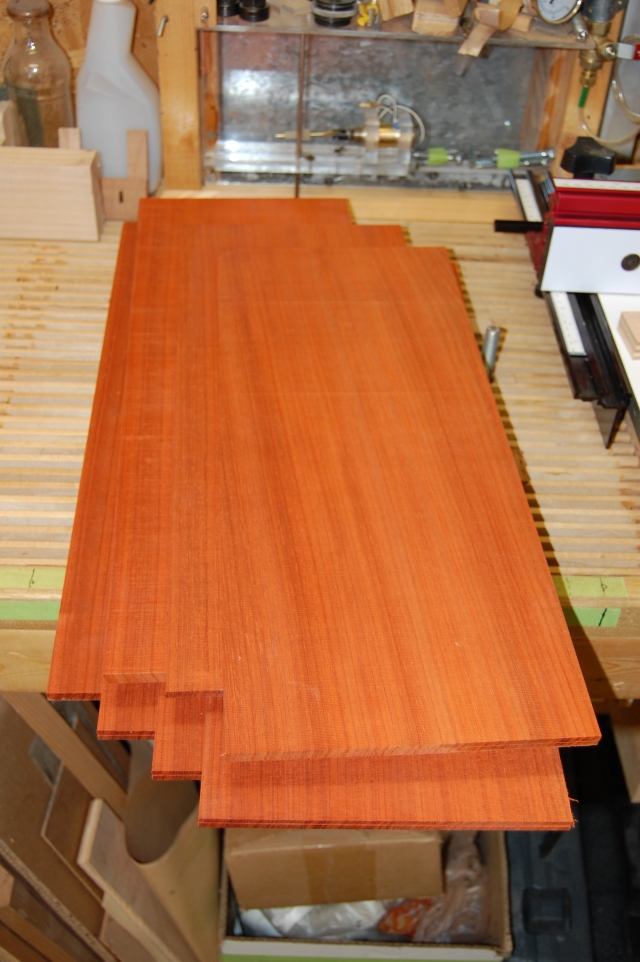
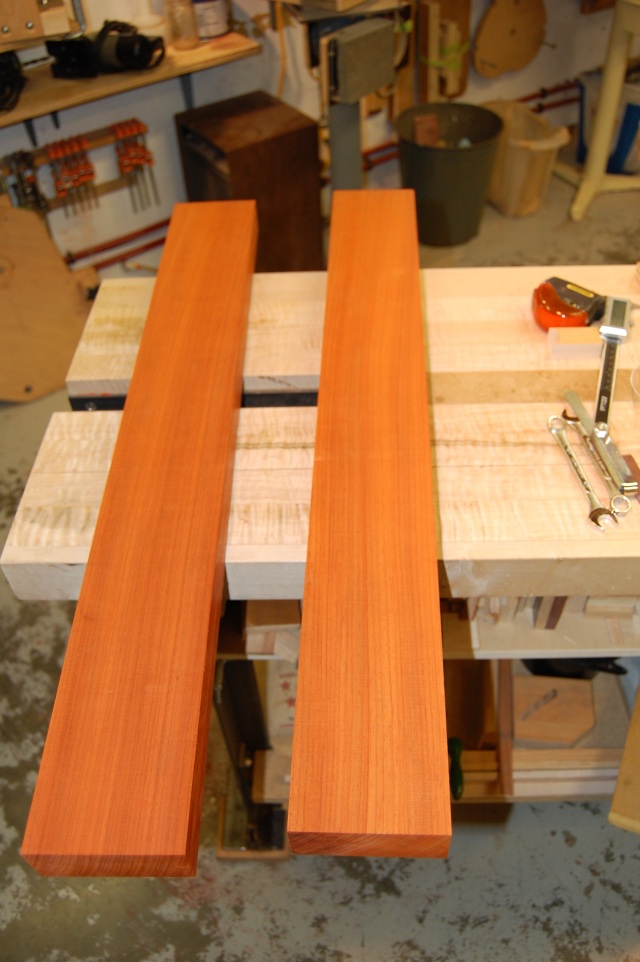
Since my last post, another large chunk of the stuff, as well as two side-less Andaman backs showed up at my doorstep from the same generous wood collector.  Two spent bandsaw blades later, I had a lot of red dust and enough Padauk for nine guitars.  But first we took the boards to the table saw, squared them, and cut off splitty or uneven edges.


The wood:

DSC_0181 1

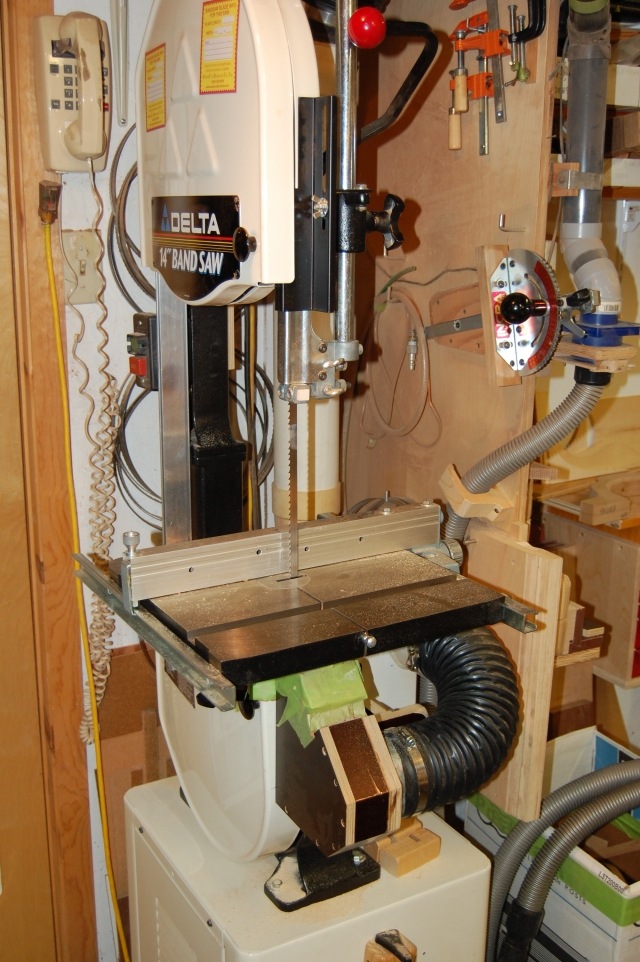
The saw:

DSC_0182 1

That little fence was enough to keep everything square and I ended up with very consistent thickness of slices.

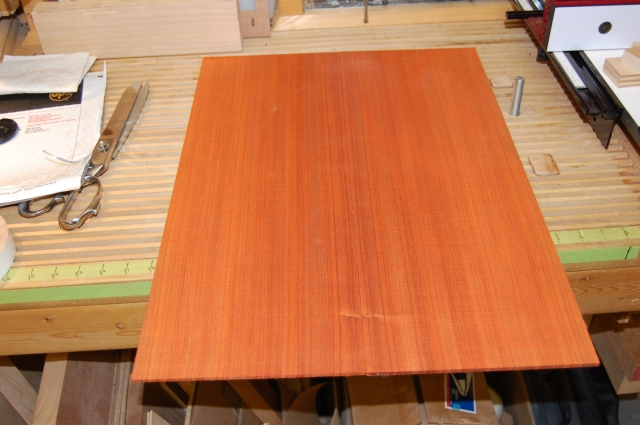
Here are the first two back halves to come off.  This is the only set to have anything but totally clear, straight grain.  Just one small semi-knot on the whole board.

DSC_0183 1

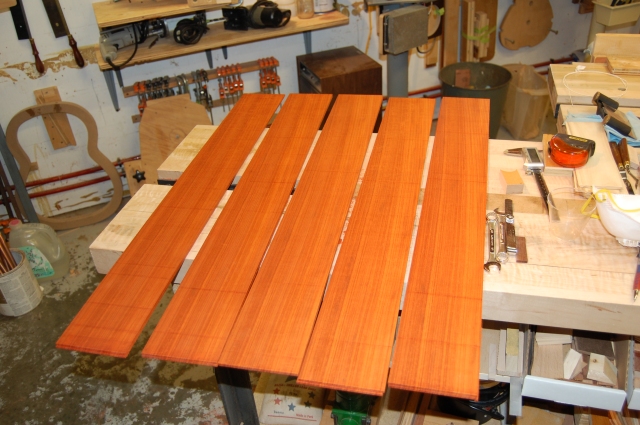
I ended up with five backs from the smaller board, then elected to cut two backs out of the large board to combine with the two I had back home, and use the rest for sides.

DSC_0187 1

Here’s the rest of the board split in two for sides.  The bandsaw had a much easier time cutting 4 inches instead of 8 1/4.

DSC_0185 1

Each of those two planks yielded 5 side sets at 3.5 mm thick, which means I have one extra set of sides in case one cracks or breaks.

DSC_0188 1

I will probably start a guitar using this wood within a few months and will post again once it’s in progress.