I’m starting a fun and somewhat more ambitious rosette than I usually make, so I thought it would be a good chance to show my technique for creating traditional wood-mosaic rosettes.
If you look closely at the rosette on your guitar, it probably has this type of repeating “pixelated” pattern, where each pixel is a small piece of wood. A lot of people ask me how that’s done, so here is my method. I don’t think any part of it is new or created by me, but it’s what works best for my shop.
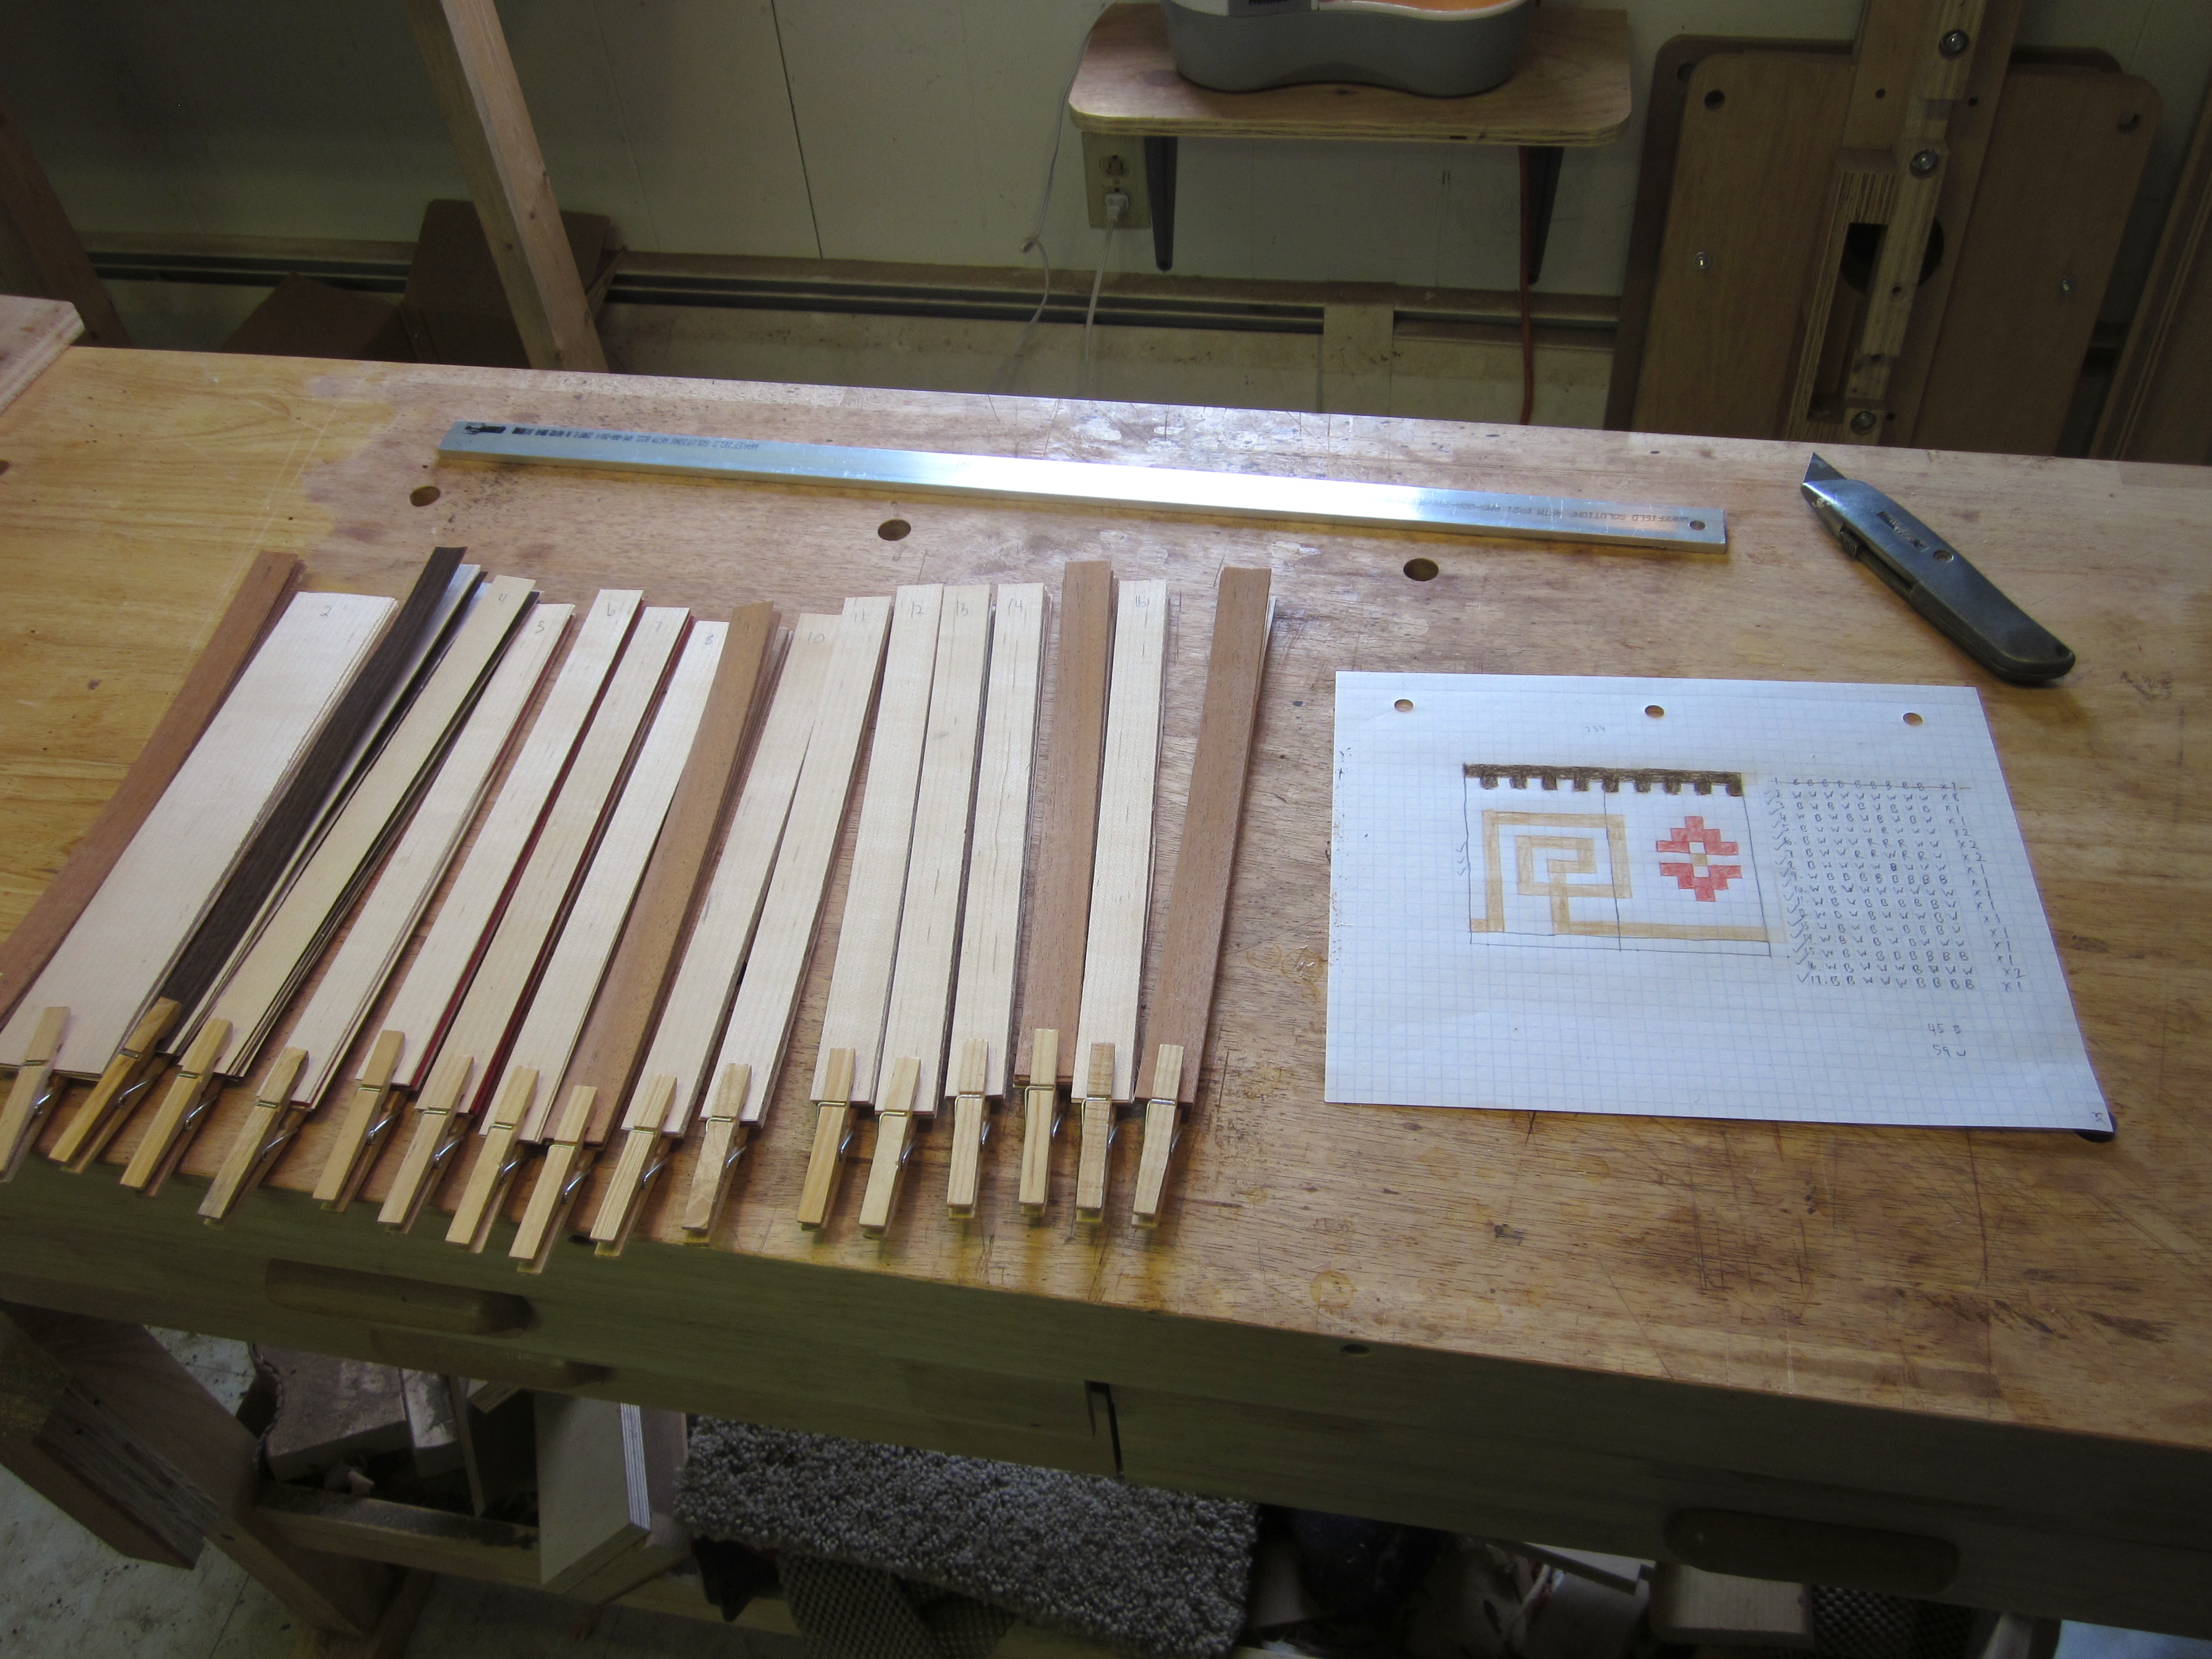
Step 1 is to dream up a design: this one was a collaboration with my client and it’s adapted from a circular pattern on a Russian parquet floor. I draw mine out on graph paper. The eventual “tile” containing one repetition of the pattern will actually be assembled from two components to make it easier to put together. The reason the whole pattern seems to be “offset” by one square, and why it’s divided where it is, is because I will have to taper it in order to inlay the tiles in a circle. This way I can taper it by taking off a little wood from the sides where it won’t interfere with the pattern.
Next I take note of the color sequences in each row of the two tile components and cut strips of veneer to match. Each row is 9 squares so each stack of veneers has 9 strips. Some of them do double or more duty, for example a row of 9 whites will be used a total of 6 times. The light brown is mahogany, the white is maple, the dark brown is rosewood, and the red is red dyed veneer.
After all the stacks are glued up, with one edge planed, they look like this:

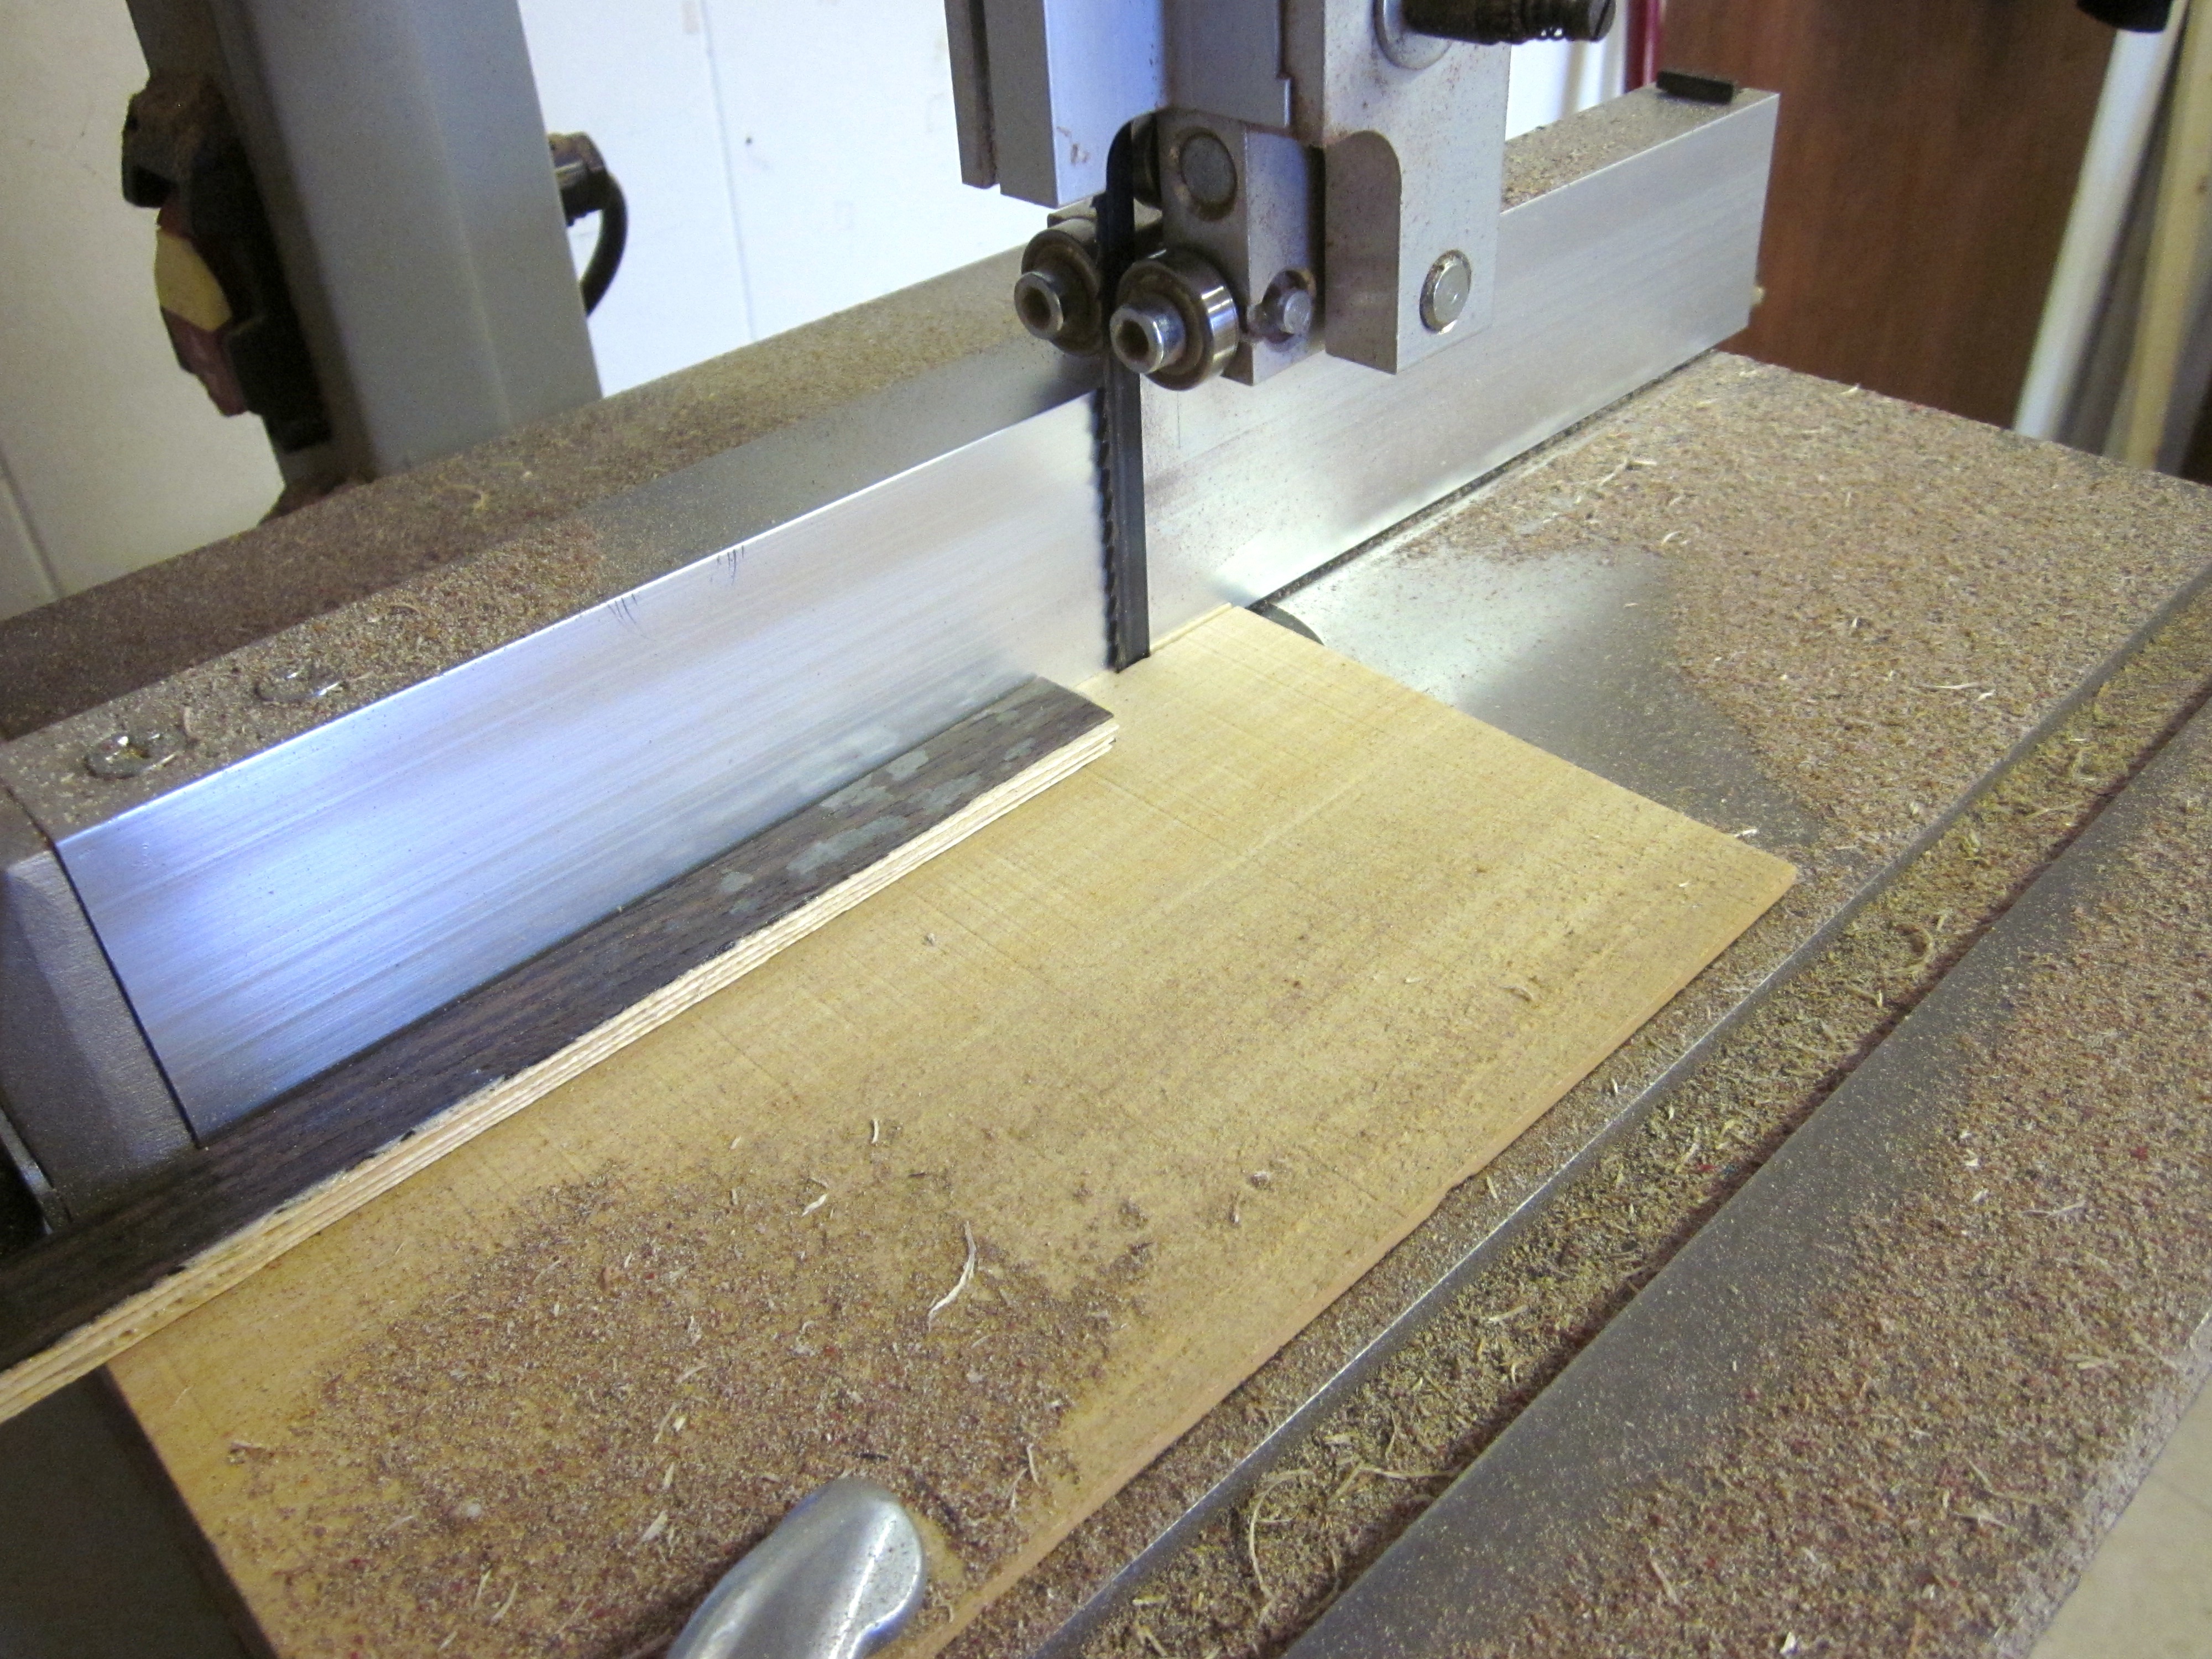
This is enough for several rosettes. Next, thin slices have to be taken off the edge of each stack (just one from most but multiples from some). I use a bandsaw for this and try to cut off slices that are about .050″ thick. I make the correct width of cut into a piece of scrap wood and clamp that to the table, this makes for a clean cut and prevents any raggedness or chipout from the saw.
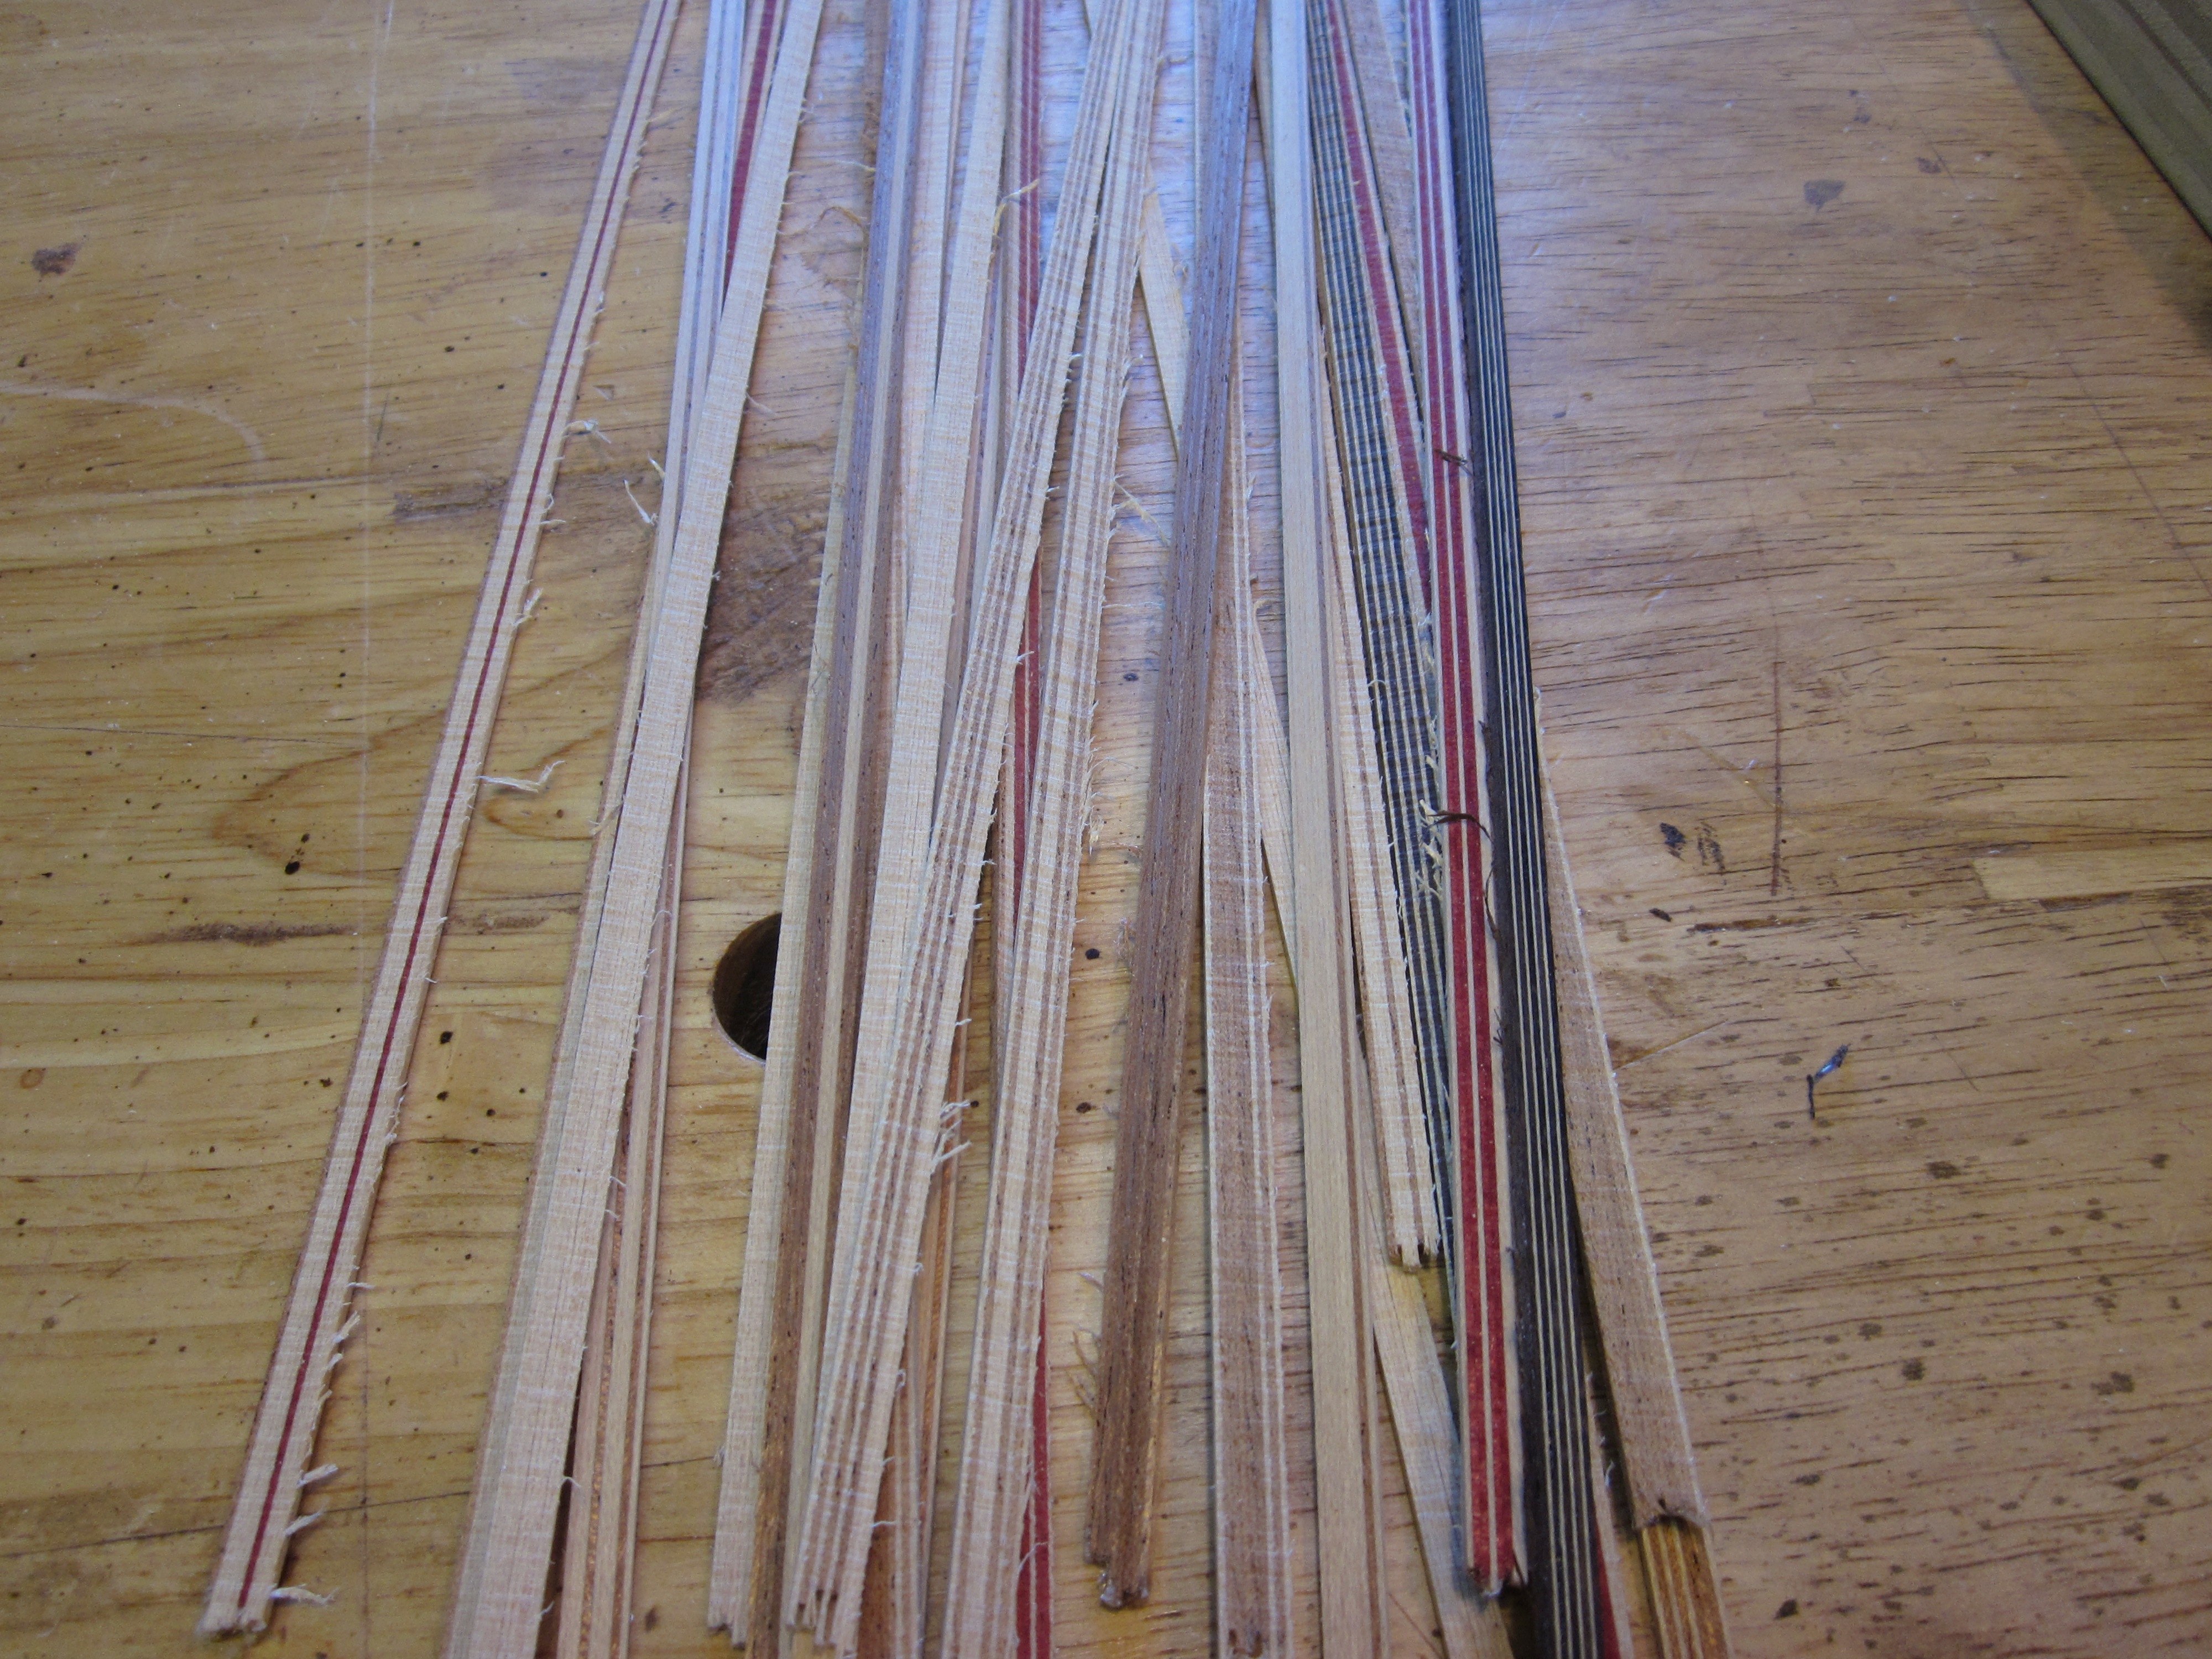
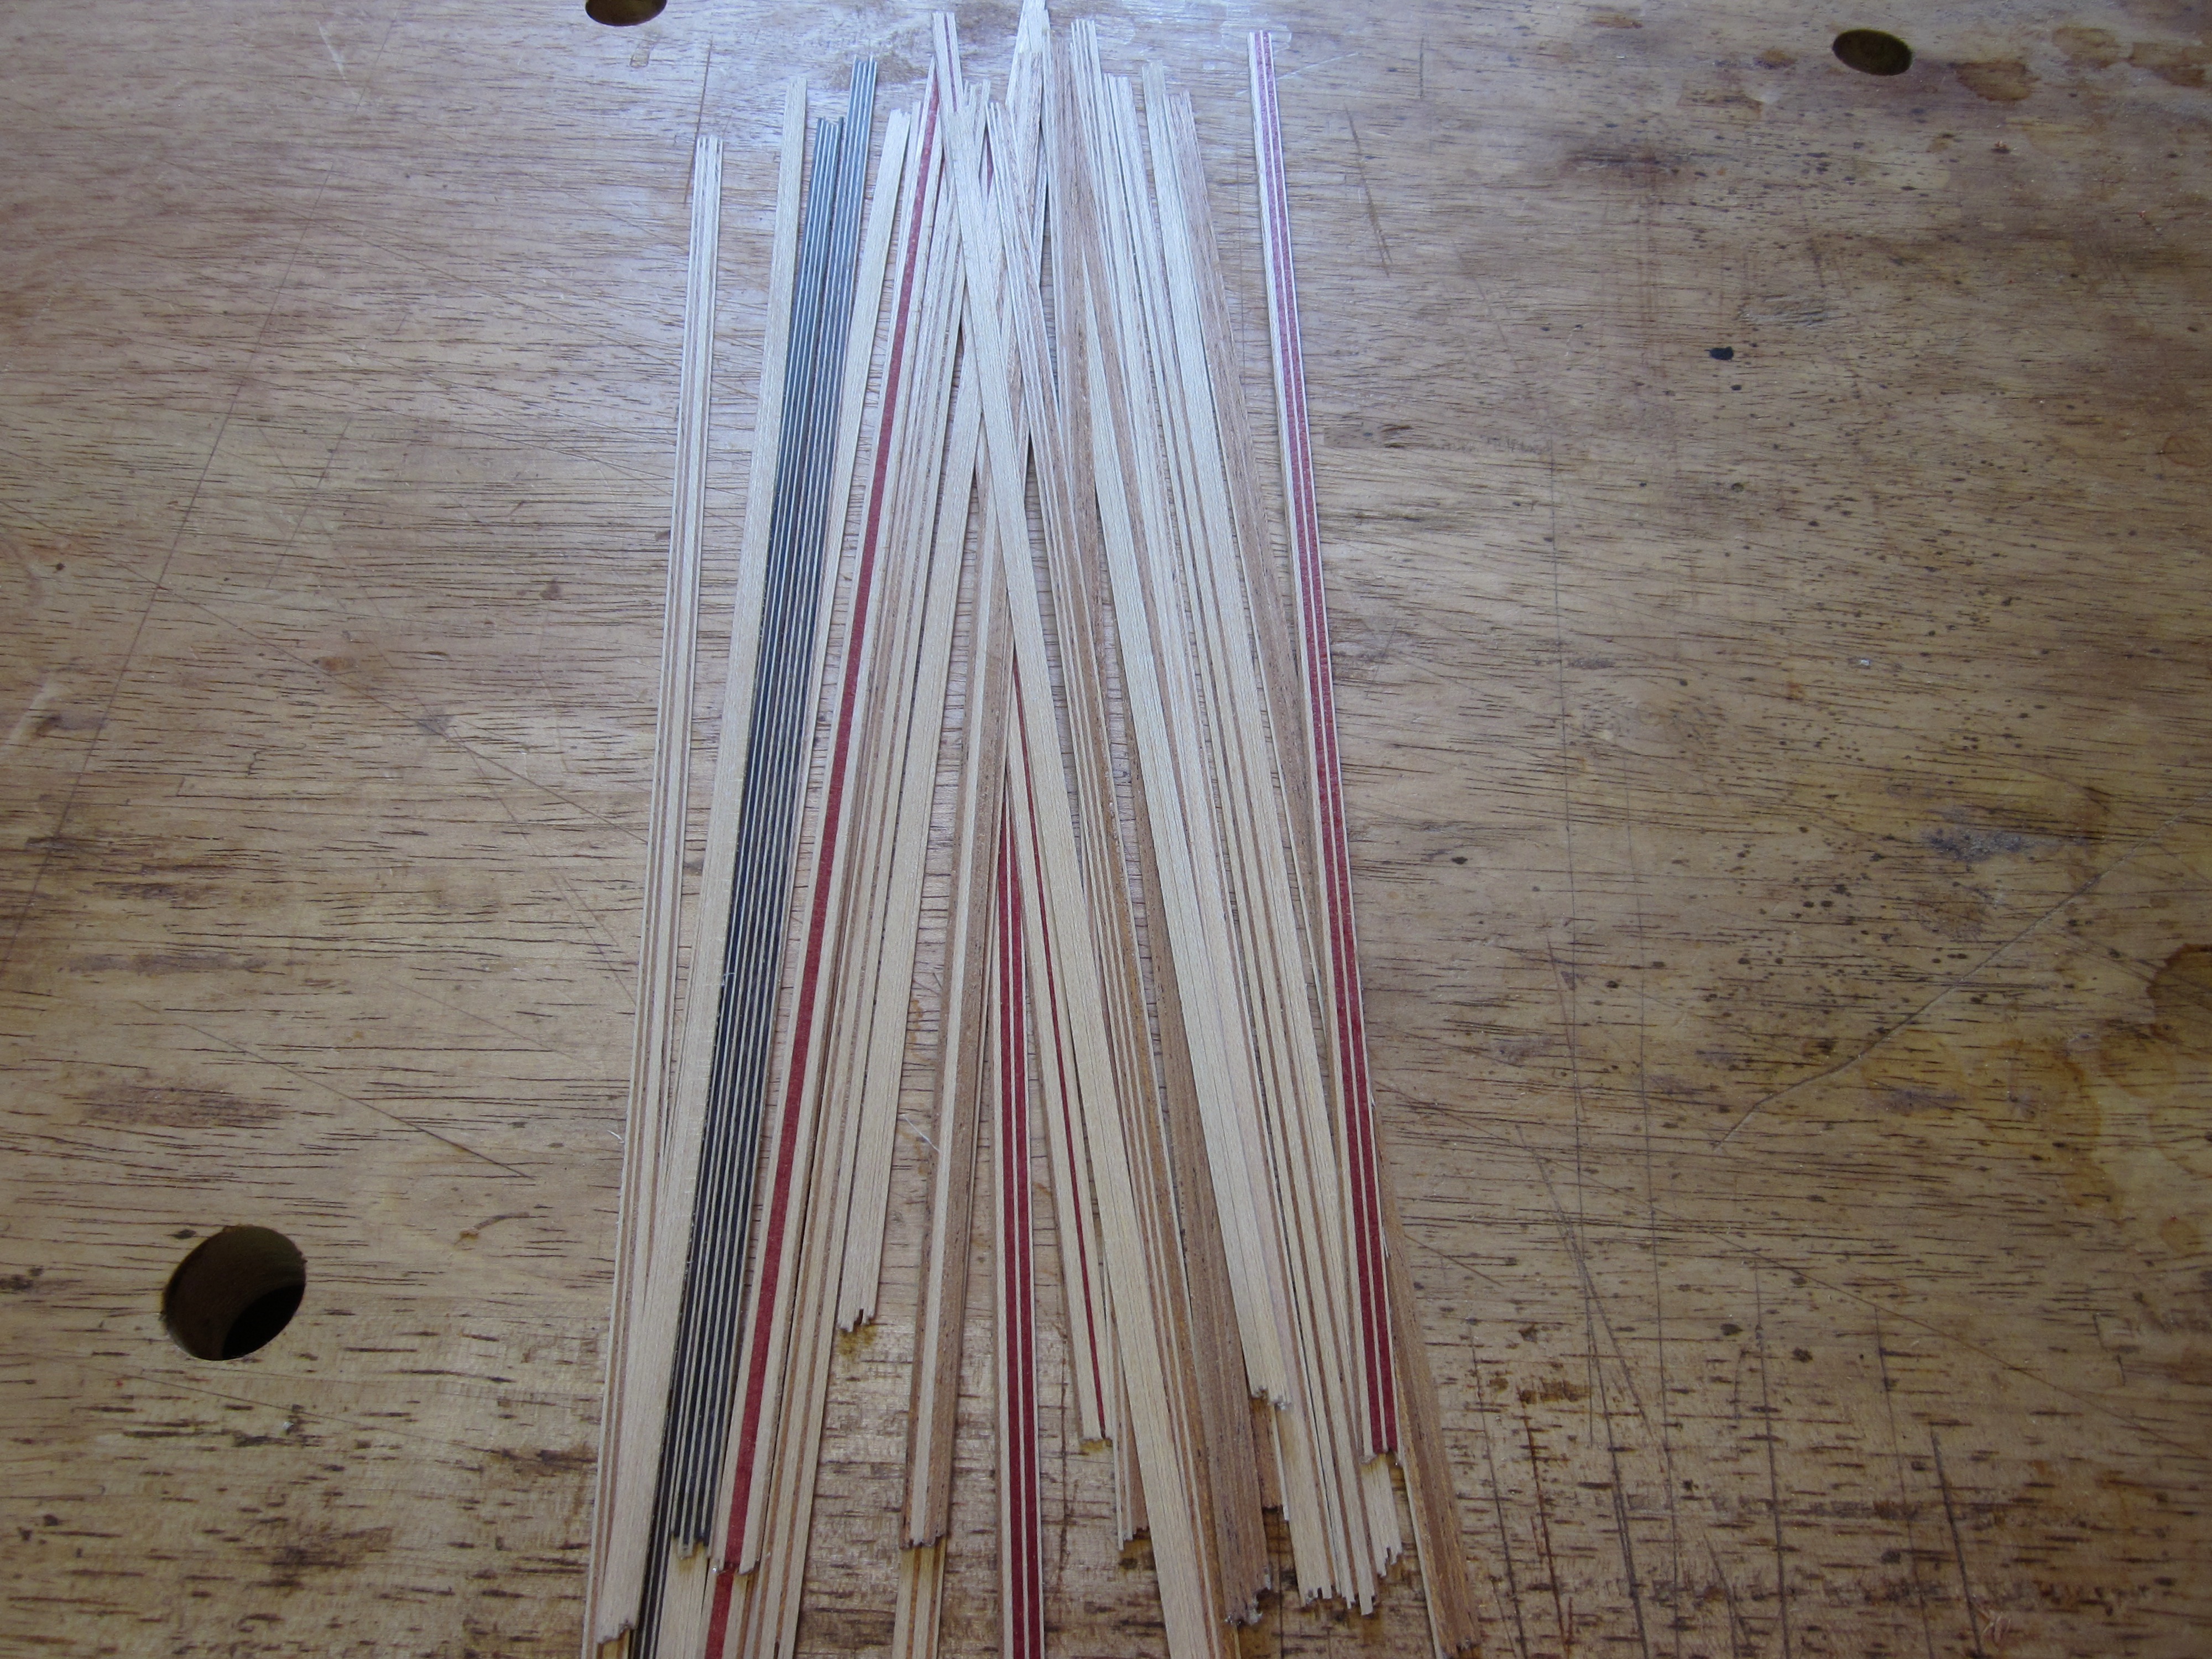
The sawn strips look like this before being cleaned up, with one side rough:
Now these strips need to be planed and scraped down to exactly the thickness of one of the original veneers: .026″. That’s so that each point in the mosaic will be a square. For this I use a jig made out of hard particle board with a channel routed that is .026″ deep. I hold the plane, and then a scraper, stationary and pull each strip through in the channel until the plane or scraper is not cutting anymore. Rubber finger tips really help for this!
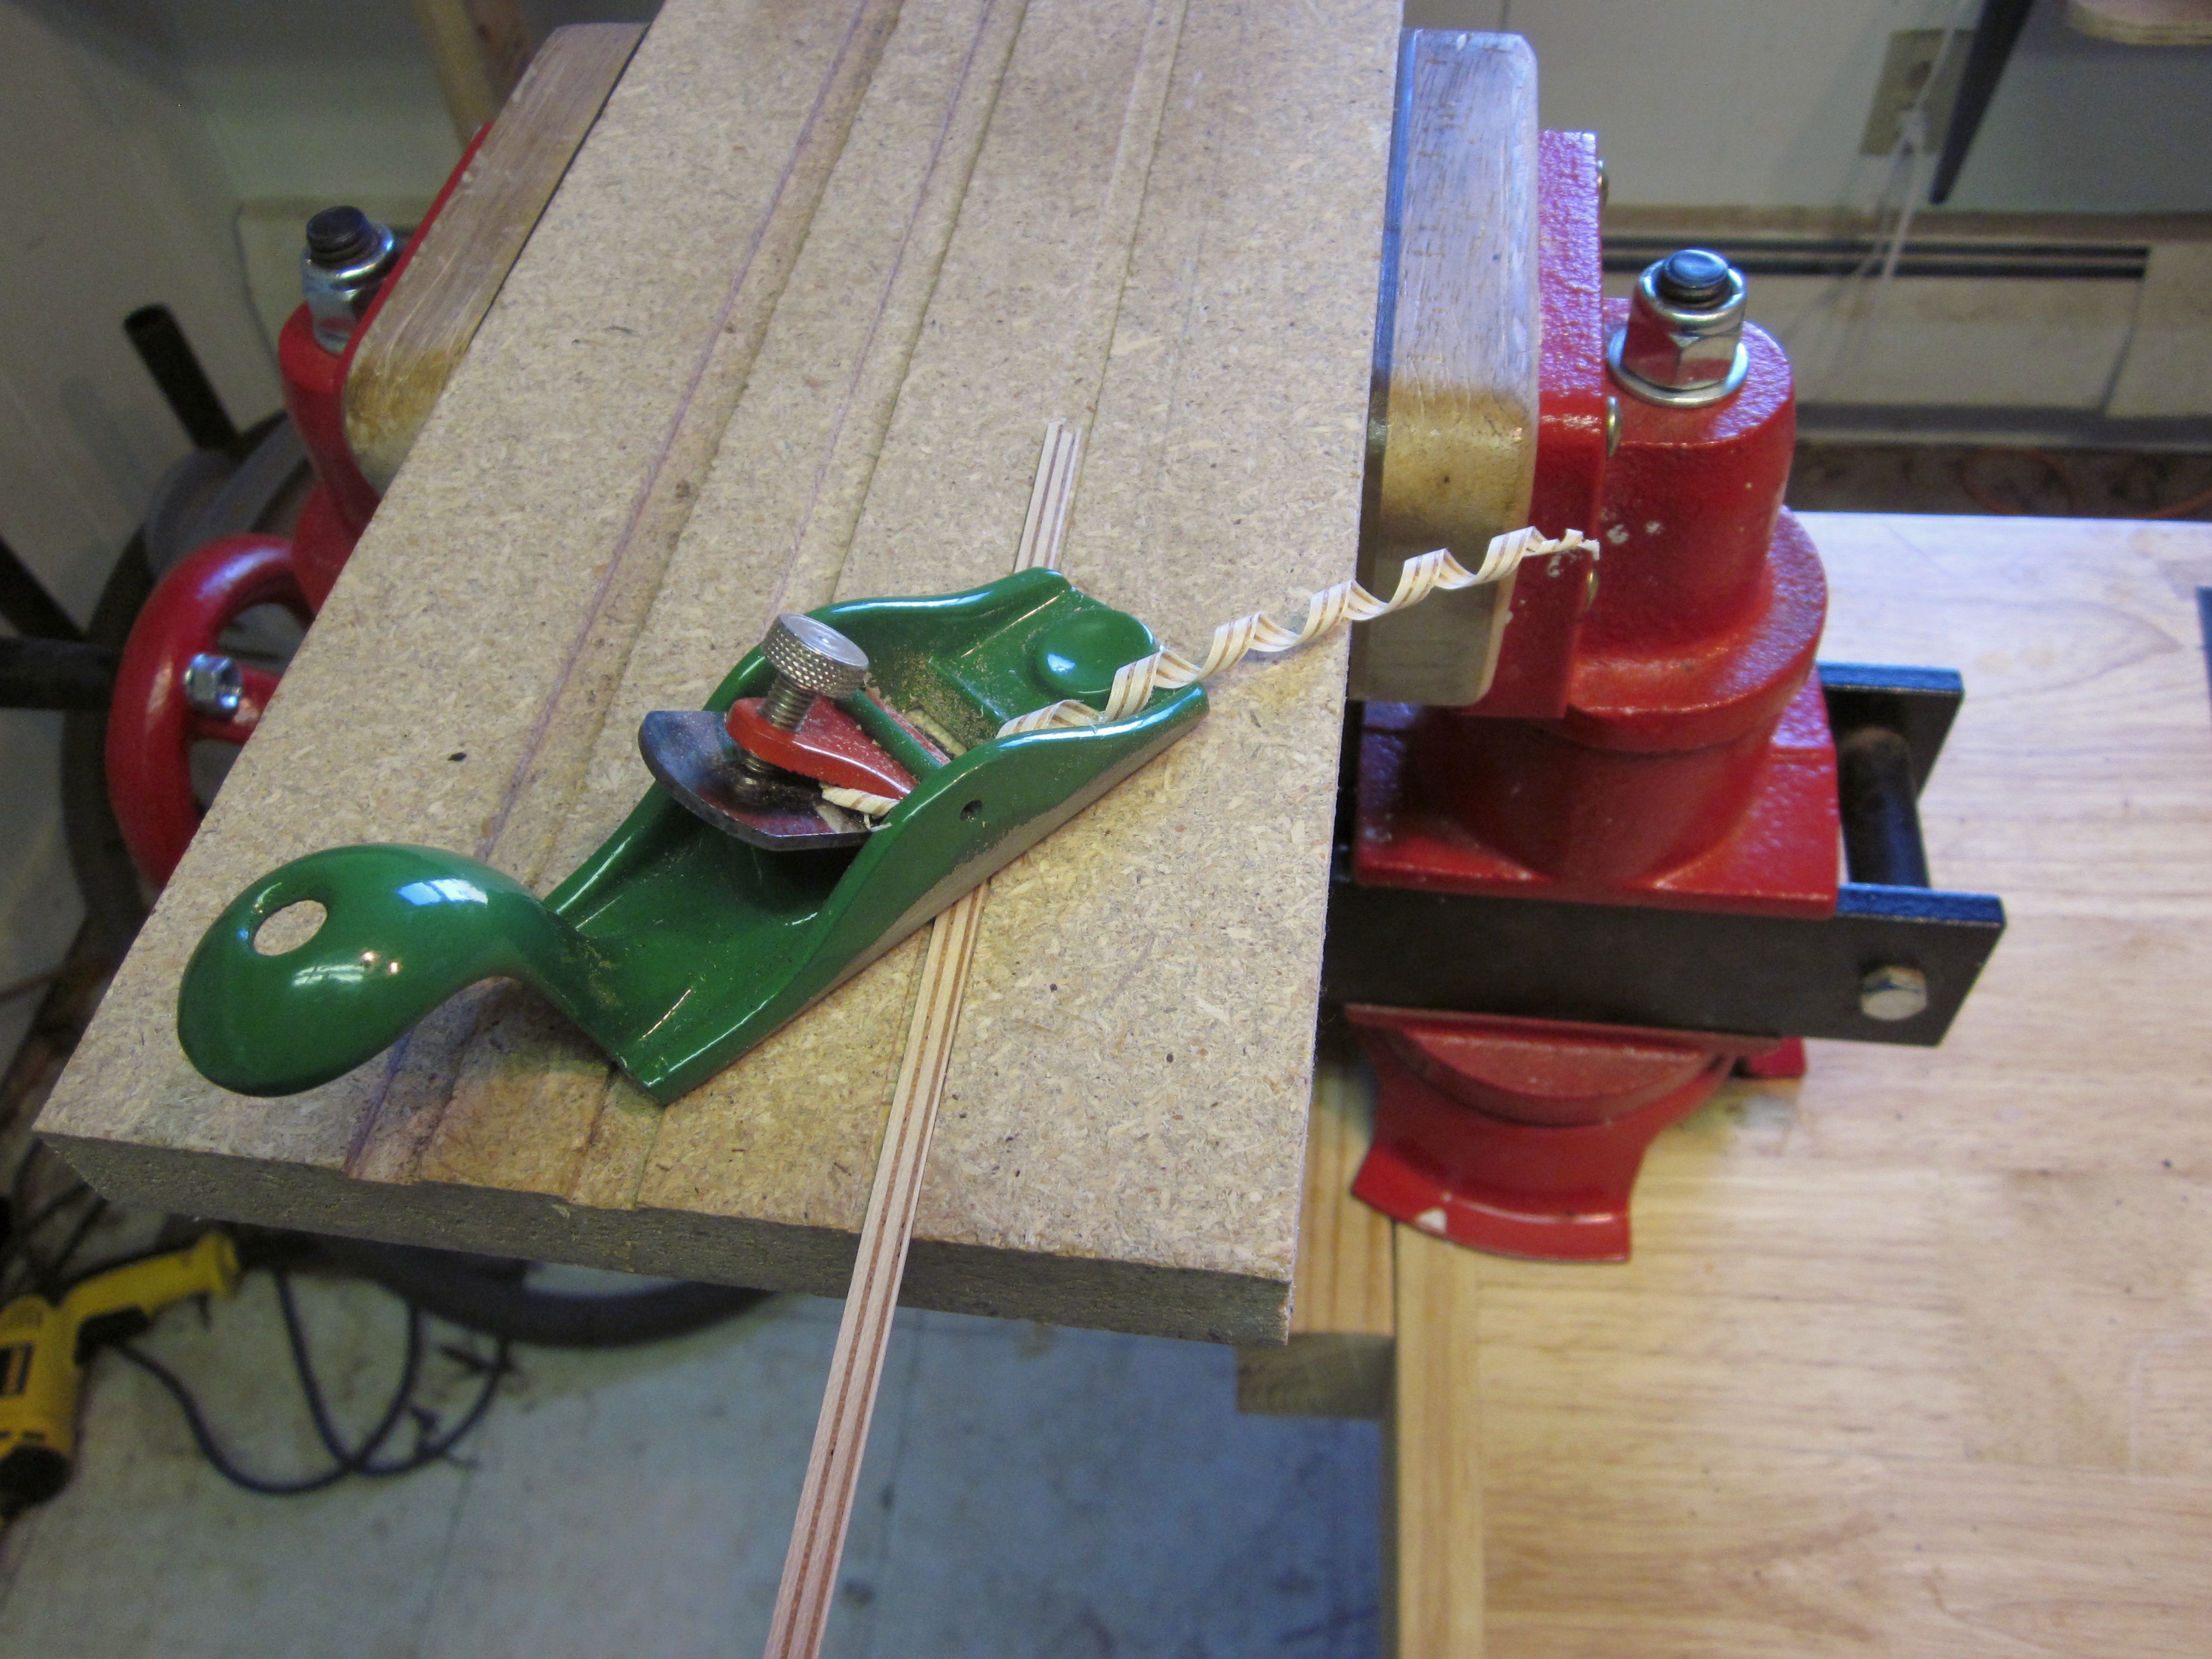
Now both sides are ready for gluing and the strips are perfectly thicknessed! I have other channels in the jig for thicknessing bindings which I do the same way.
Now I’ll have to glue these strips together in the right order to make logs from which I will saw the mosaic tiles. Stay tuned for part II…
